 I wanna share how I built a 20MHz dual channel Oszilloscope based on Bitscopes Micro, Raspberry Pi 3 and 7″ Touchscreen.
Needed parts
- Bitscope Micro
- Bitscope Hammerhead
- Raspberry Pi 3 Model B
- Raspberry Pi Touch Display (7″, 800×480)
- TOOGOO Micro USB Board
- Micro USB Cable (>10cm)
- Mini USB Cable (>15cm)
- 2×5 pin header (2.54mm pitch)
- 10 pin flat cable (1,27mm pitch)
- 2×5 pin socket connector (2.54mm pitch)
- 4x DIN912 M3 18mm
- 2x DIN912 M3 10mm
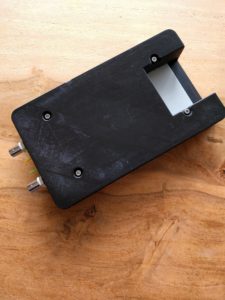
- 3D printed case and more pictures (see github)
- USB Powerbank or -supply (>1.2A).
- Soldering Iron, Screw drivers, etc.
Prepare parts
Touchscreen assembly and install PI
 Assemble 7″ touch screen as explained here.
Hint: Before doing everything step-by-step, read my next chapters hints of changes!
Changes from standard touch assembly
Hint: You only need all 4 wires, if you want to use very old PIs.
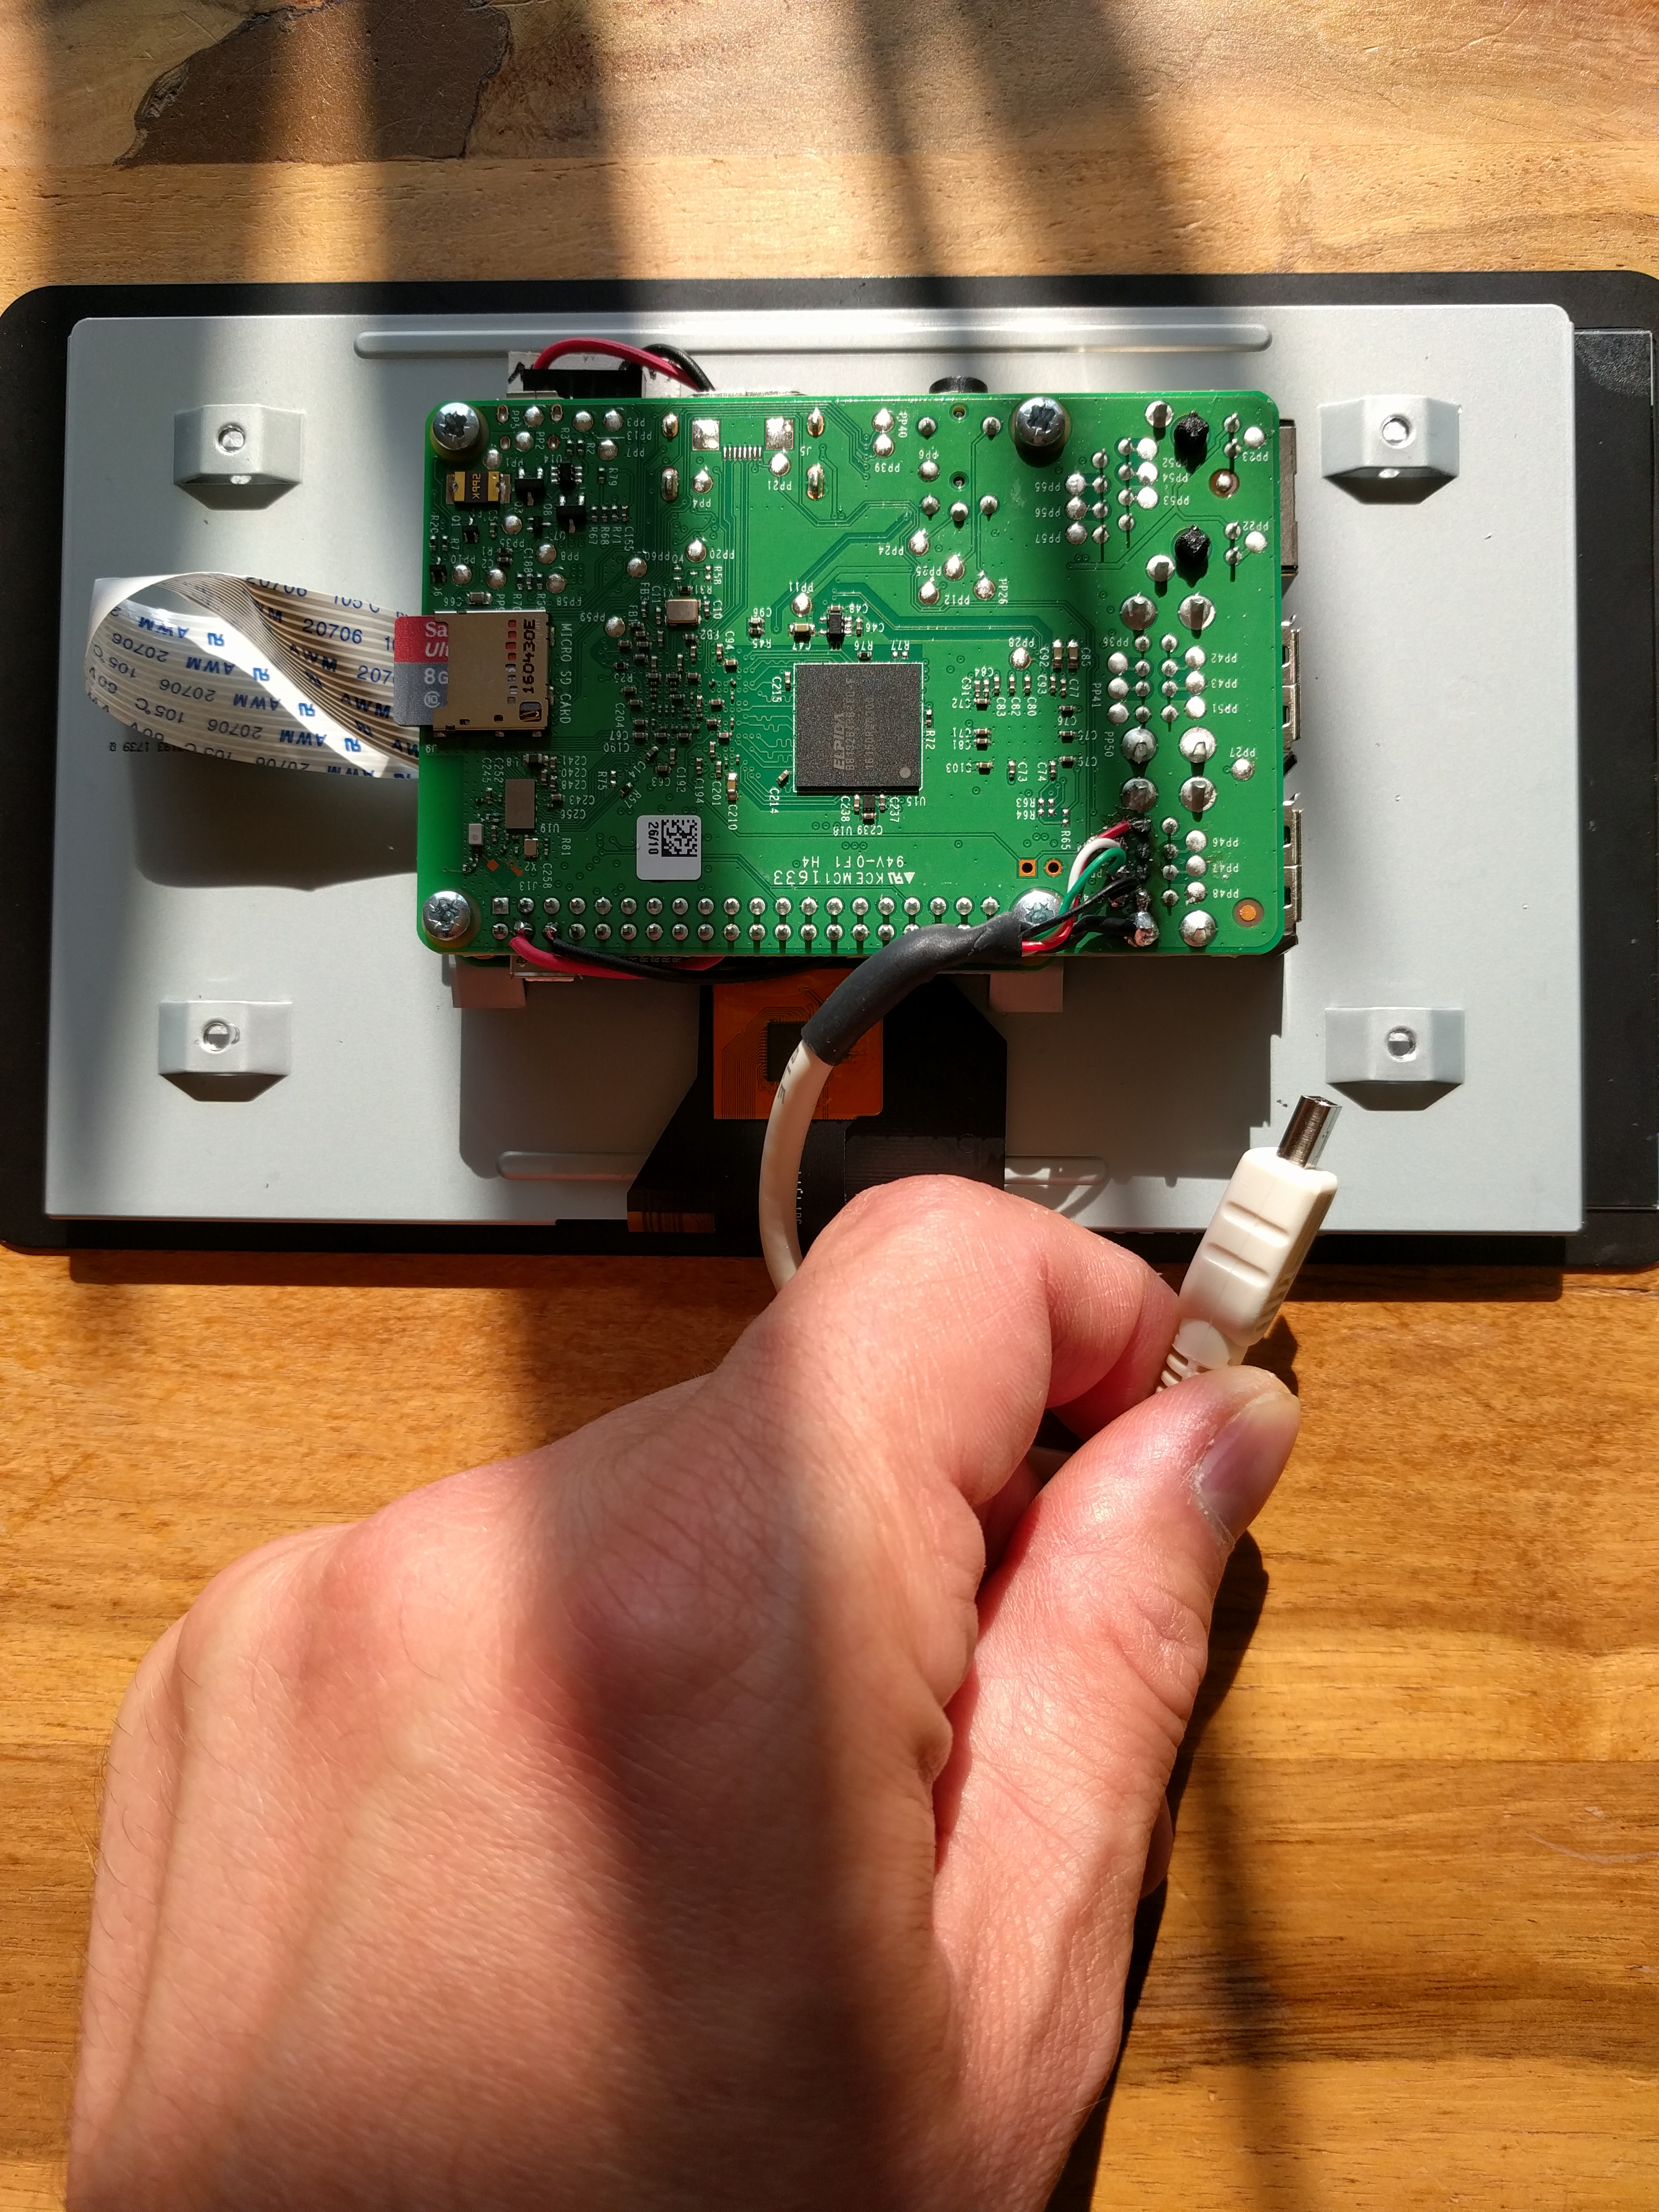
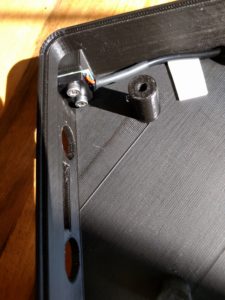
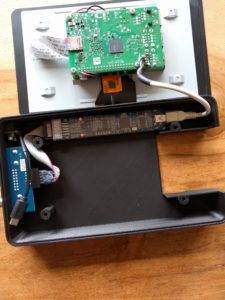
Hint: Unlike explained above, flip PI upside down to safe some space. The standard position will not fit into my 3D printed case.
Hint: Due to the flipped PI, there is not space for the Dupont Connector. So I cut cable (red/black) to 10-15cm and soldered it to the PI (On github are more pictures available with more details).
Solder power cable (Micro USB)
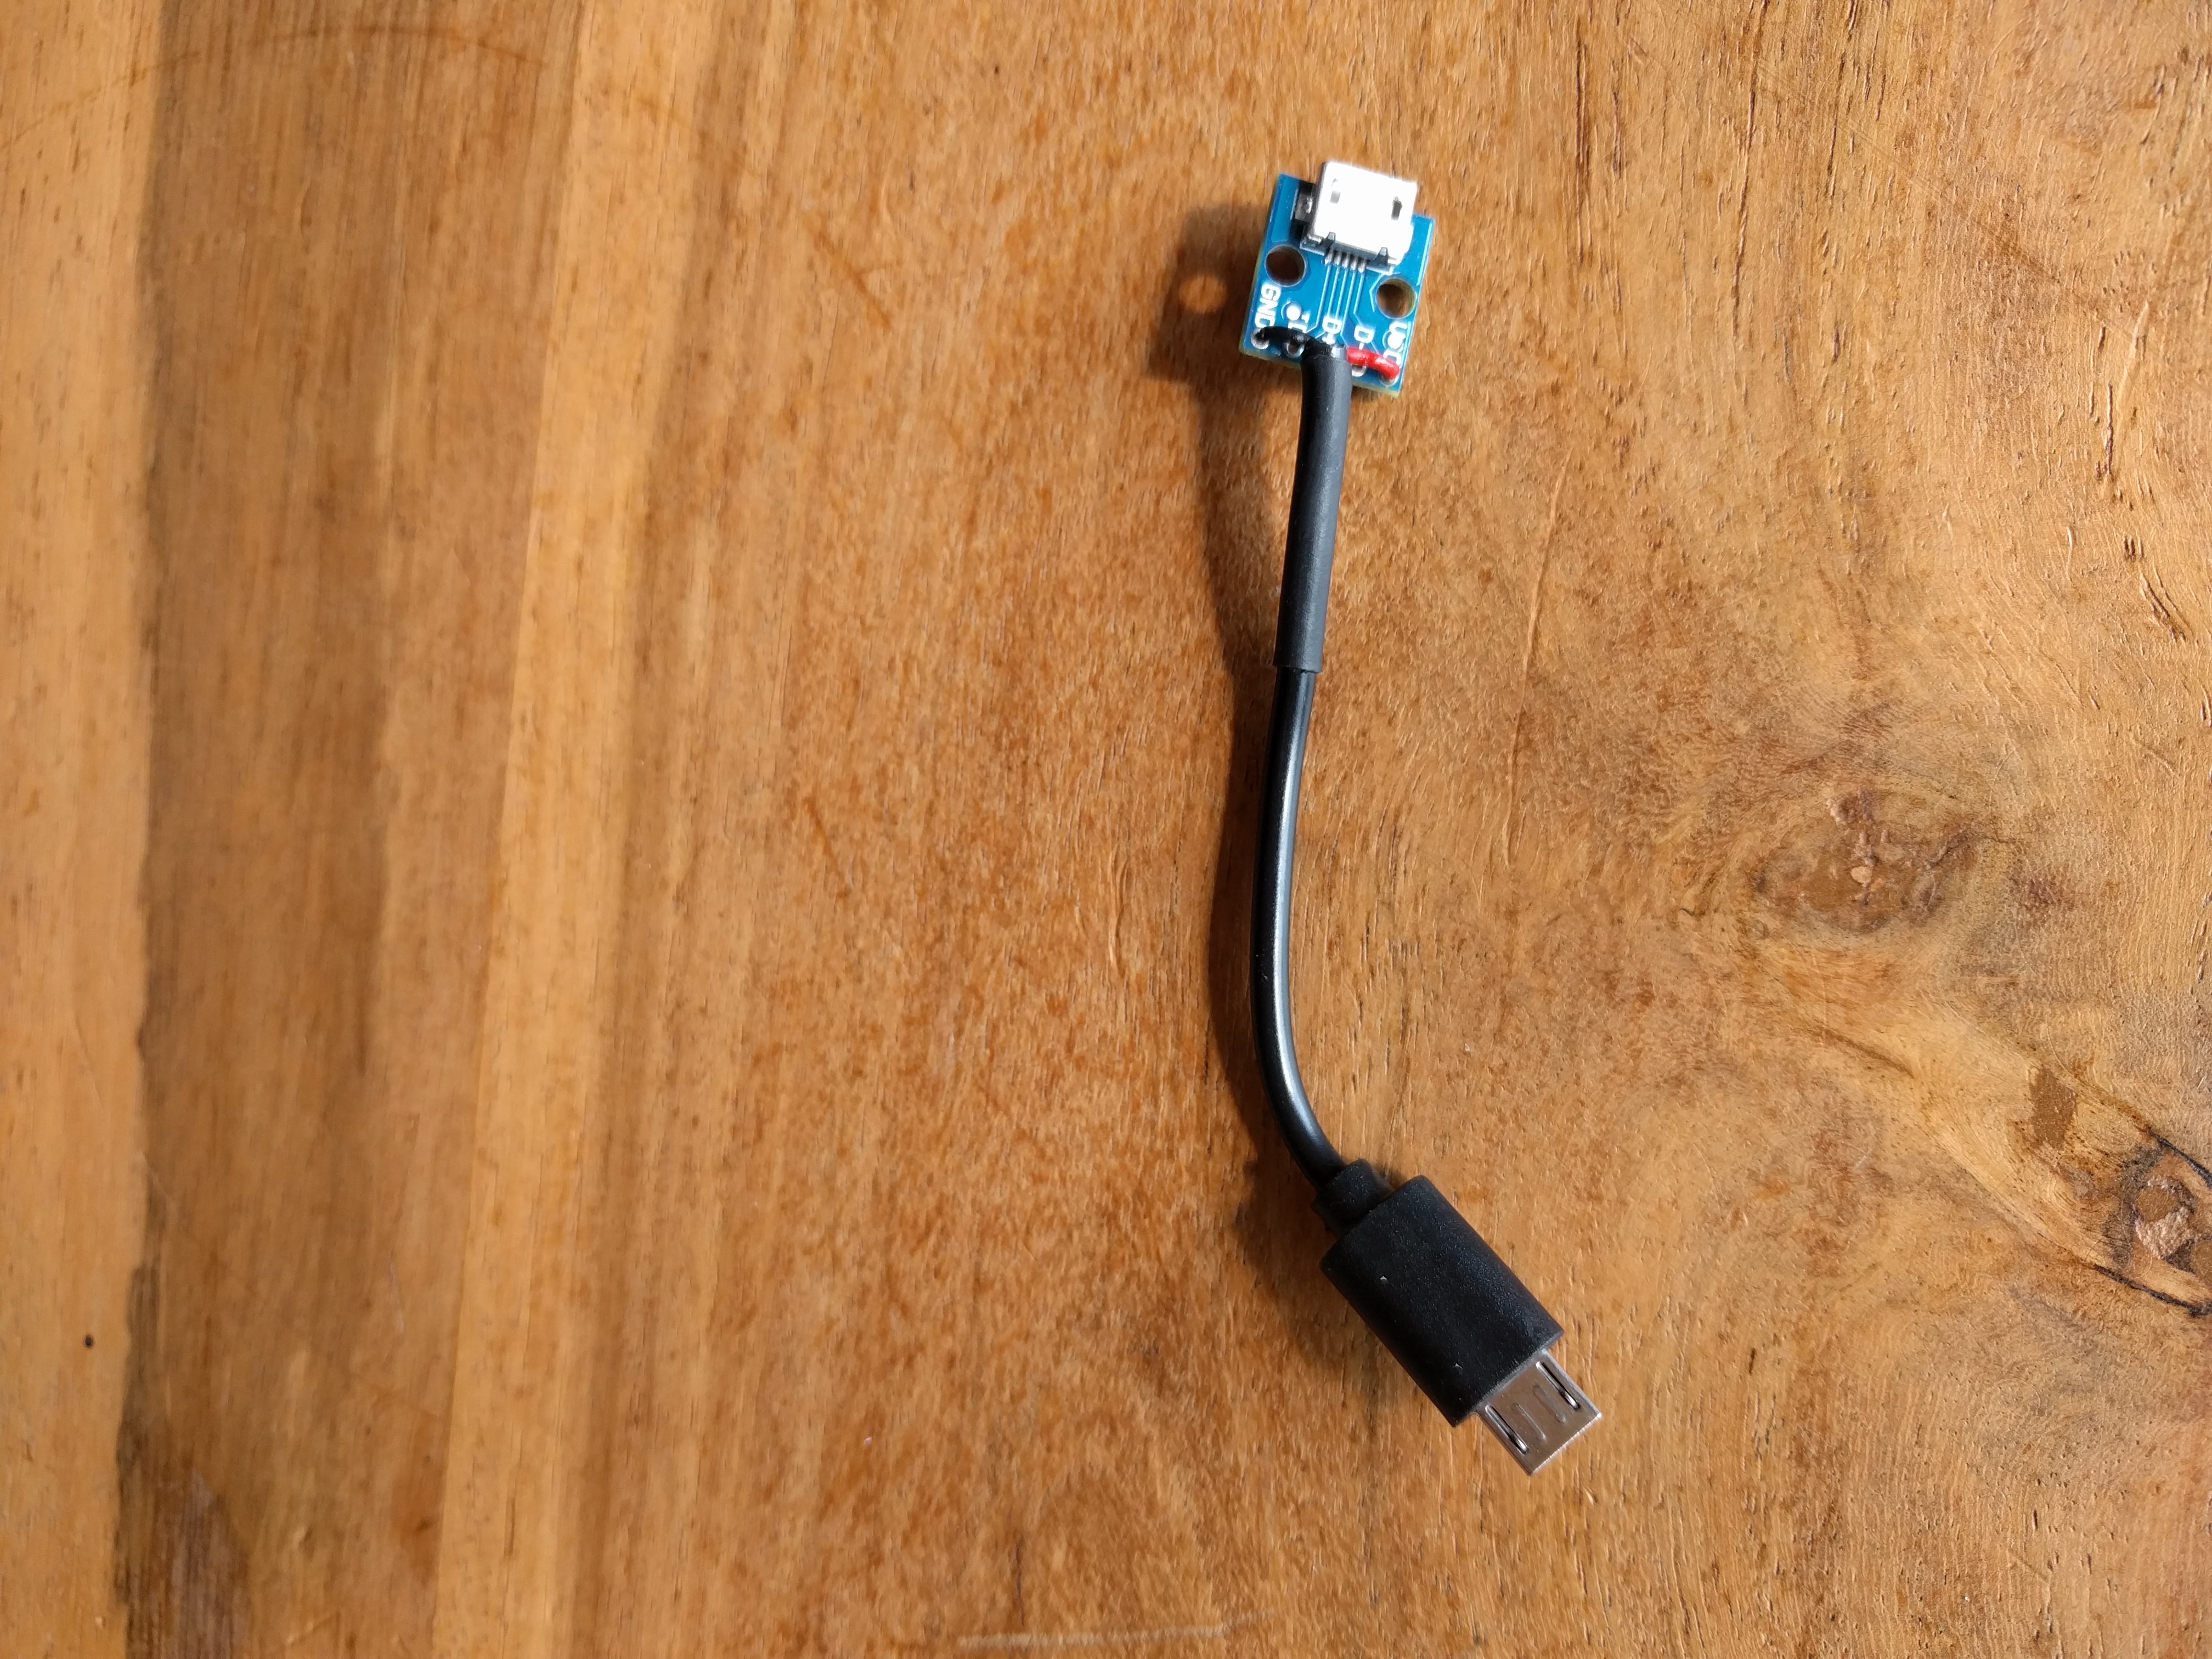 For this I used a Micro USB board and a Micro USB cable cut to 10cm length and soldered them together.
Solder Bitscope power cable (Mini USB)
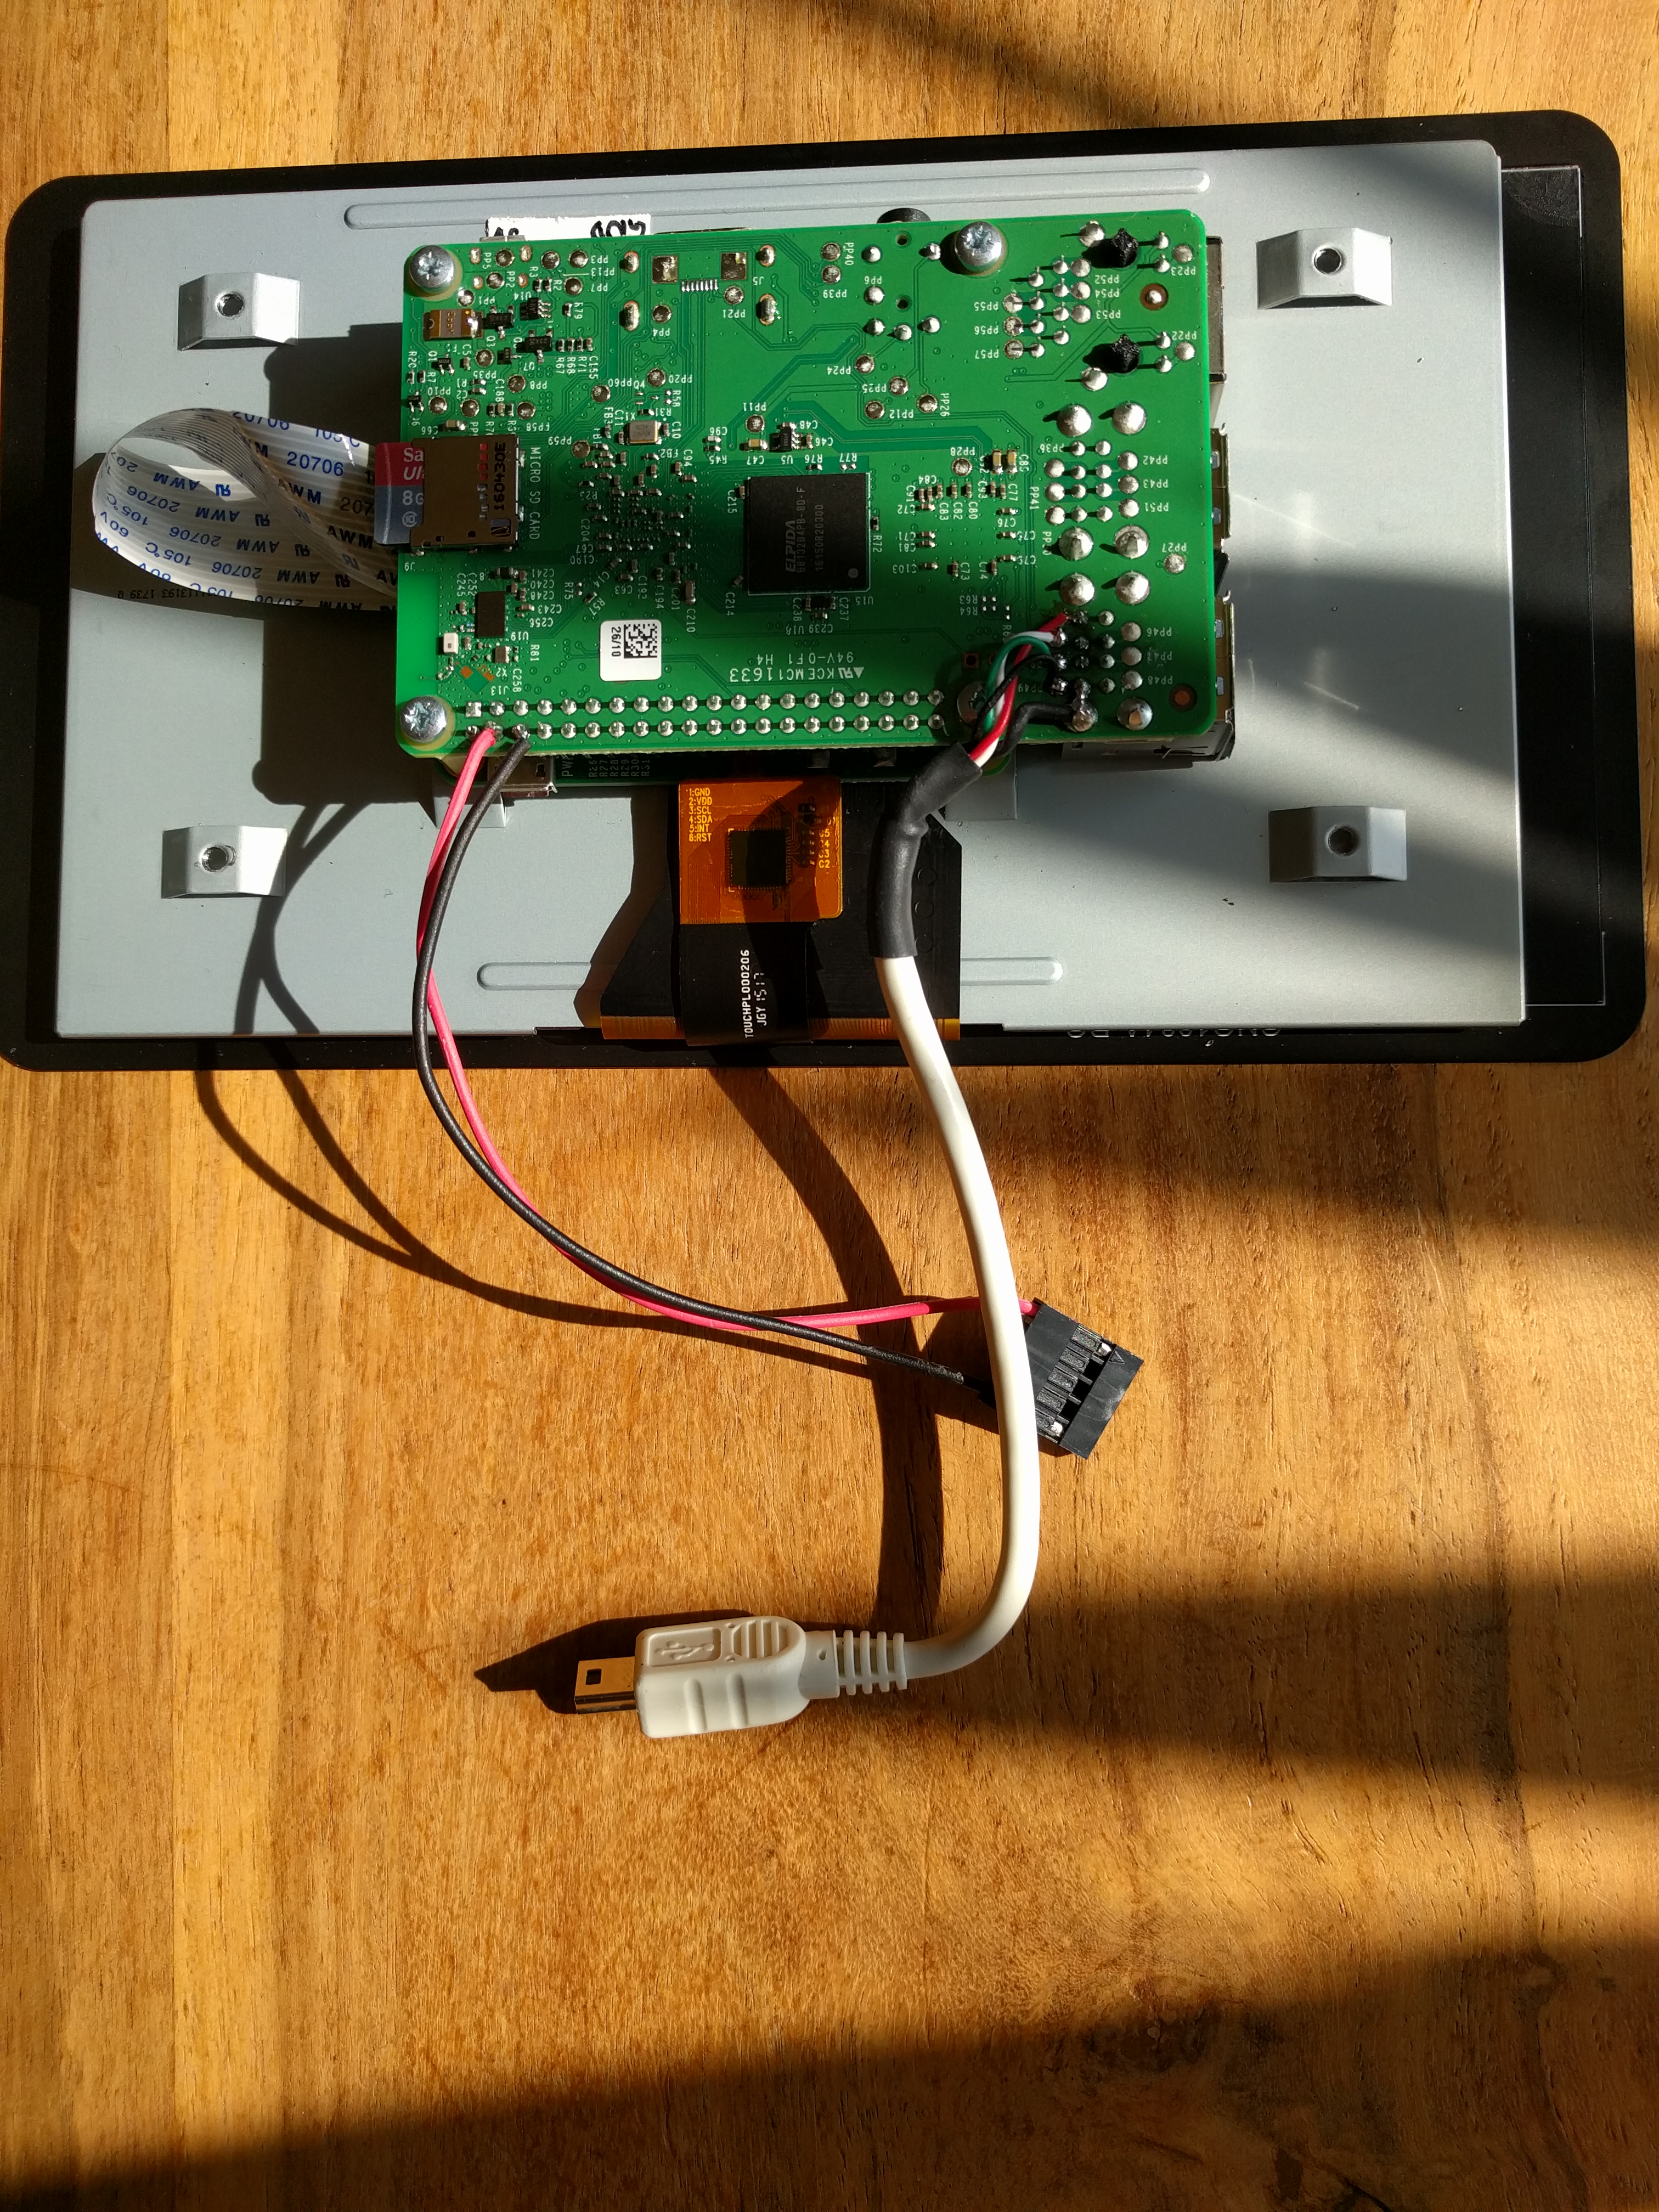
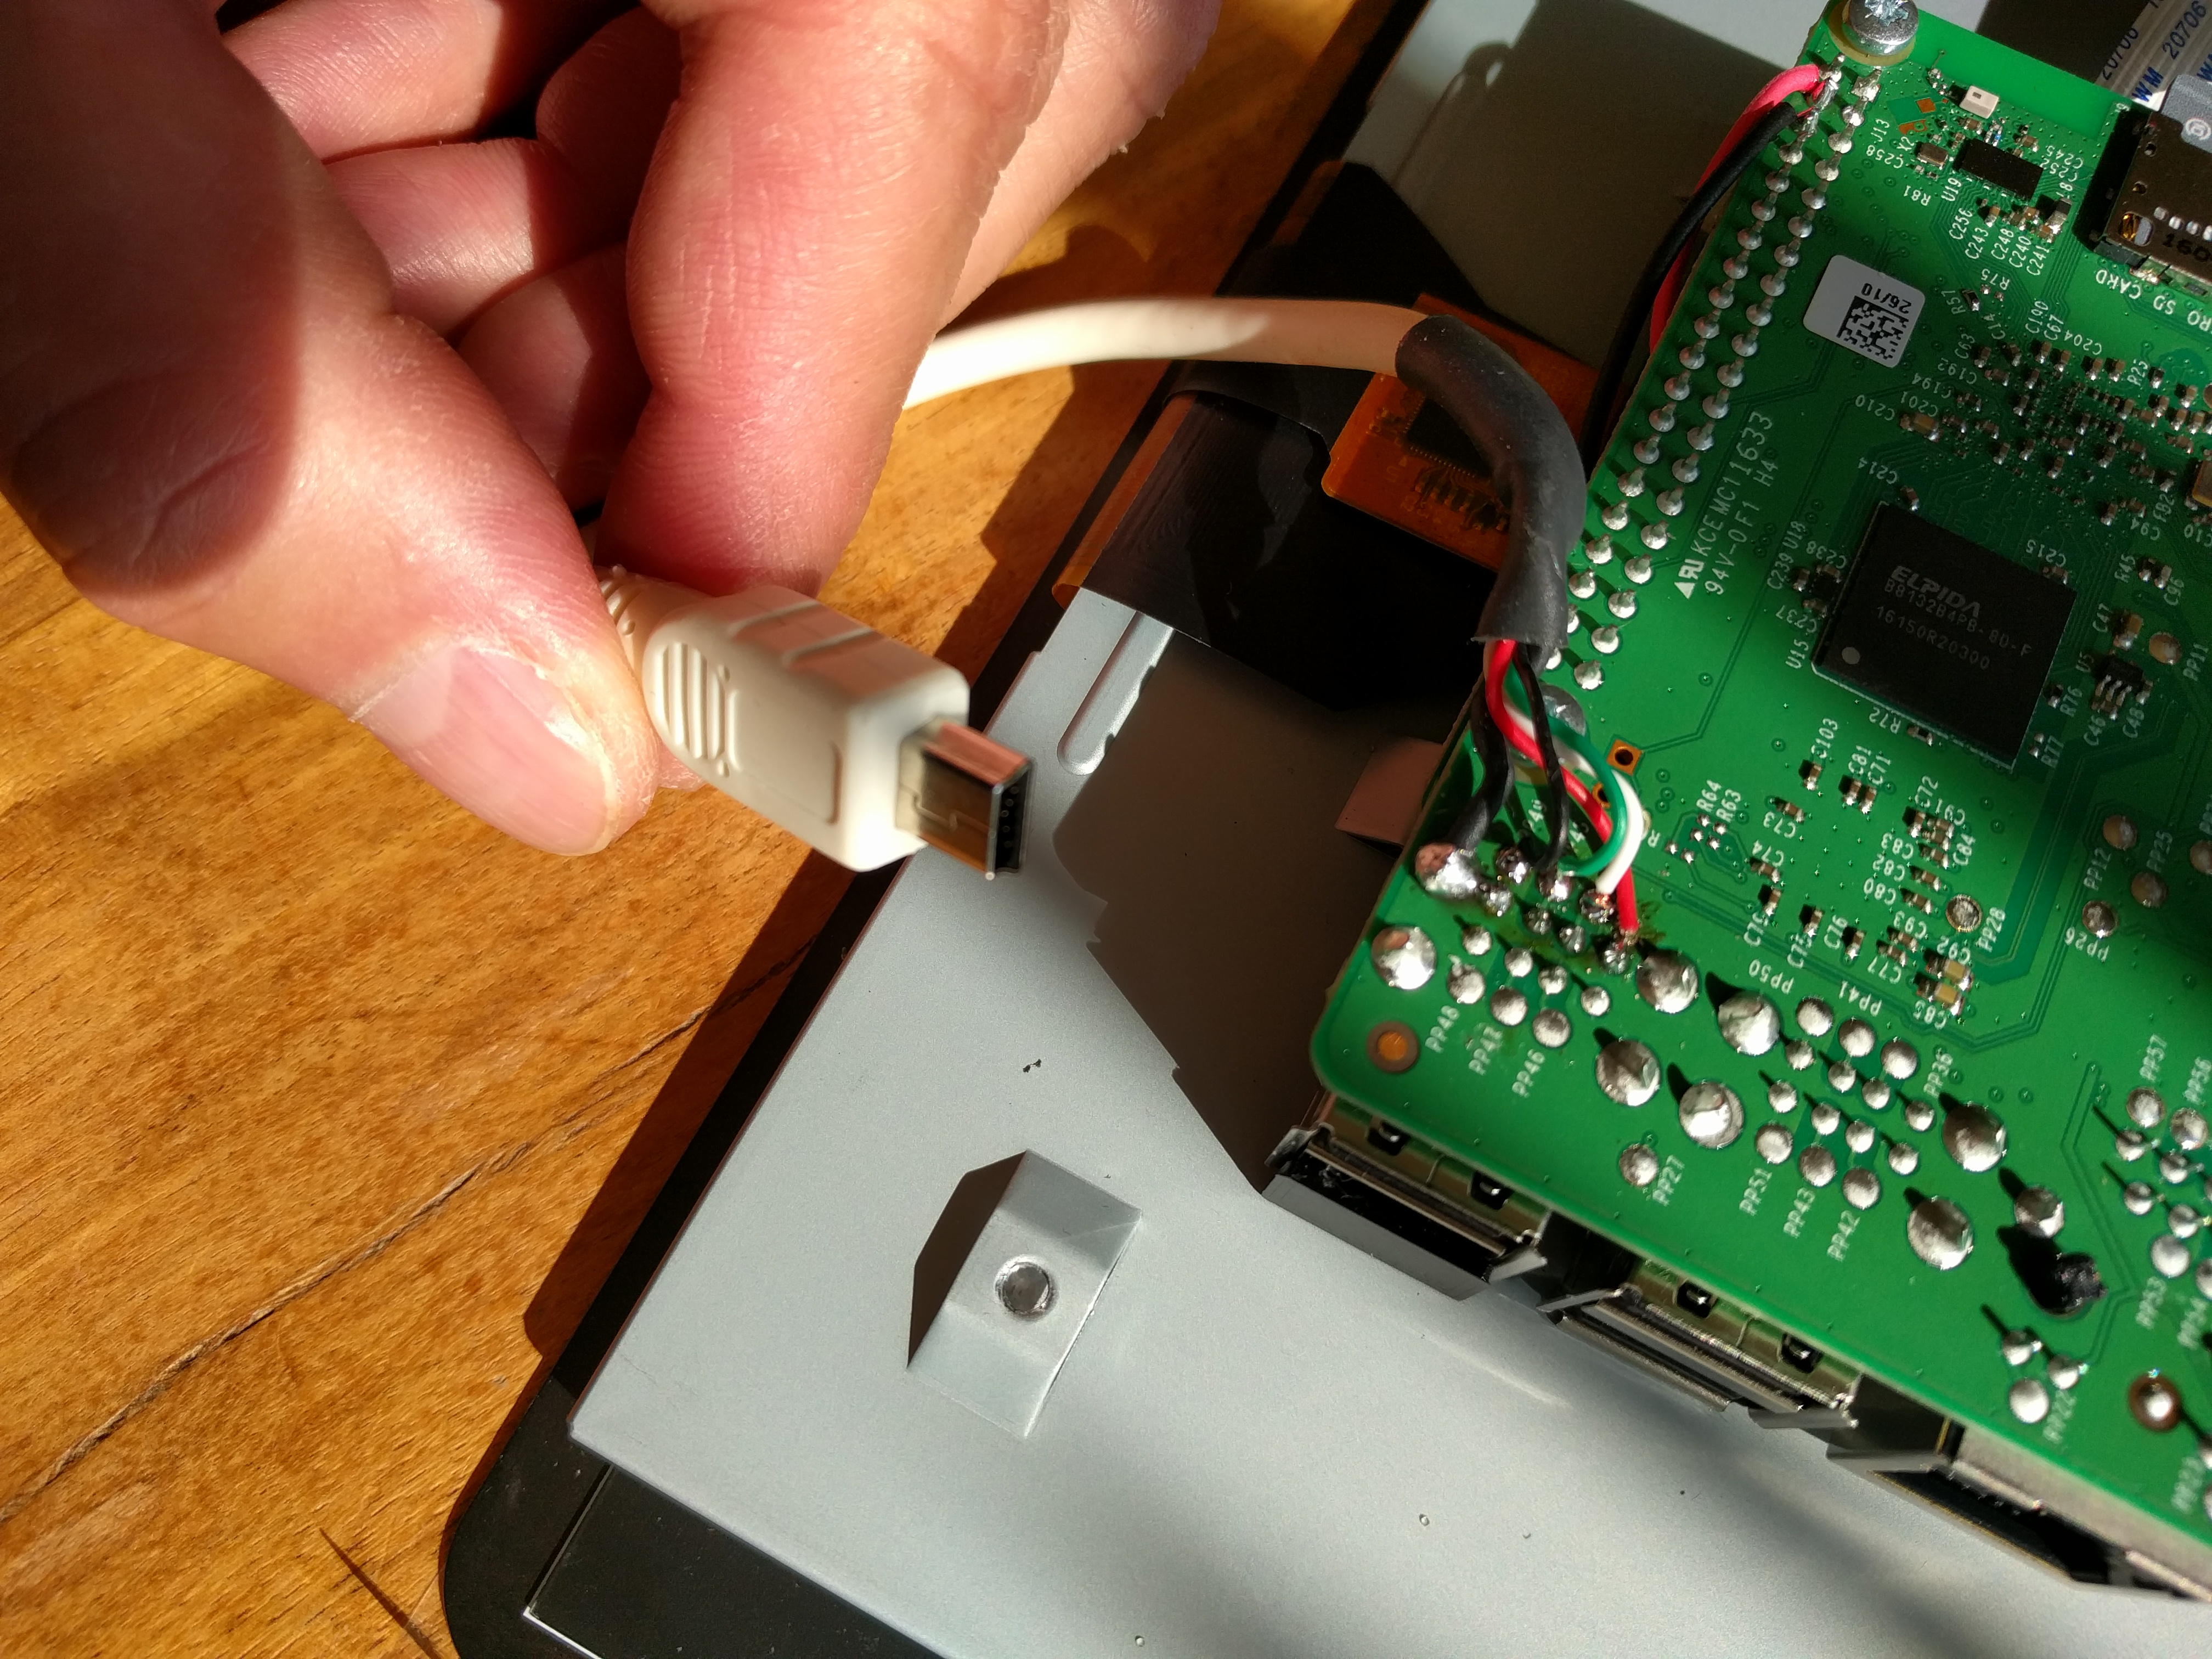 To power the bitscope it needs to be connected to one USB port via its Mini USB cable. I decided to solder it directly to the PI. Cut mini usb cable to 15cm length and solder it to the PI like shown in the picture (colors are standarized).
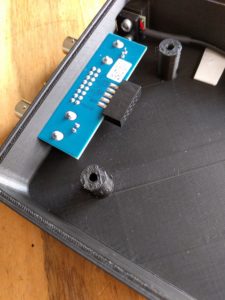
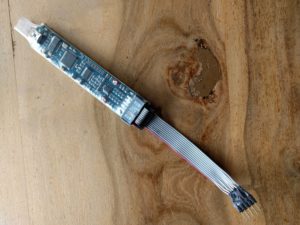
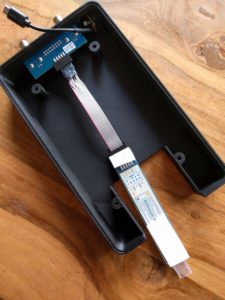
Solder Bitscope Hammerhead data cable
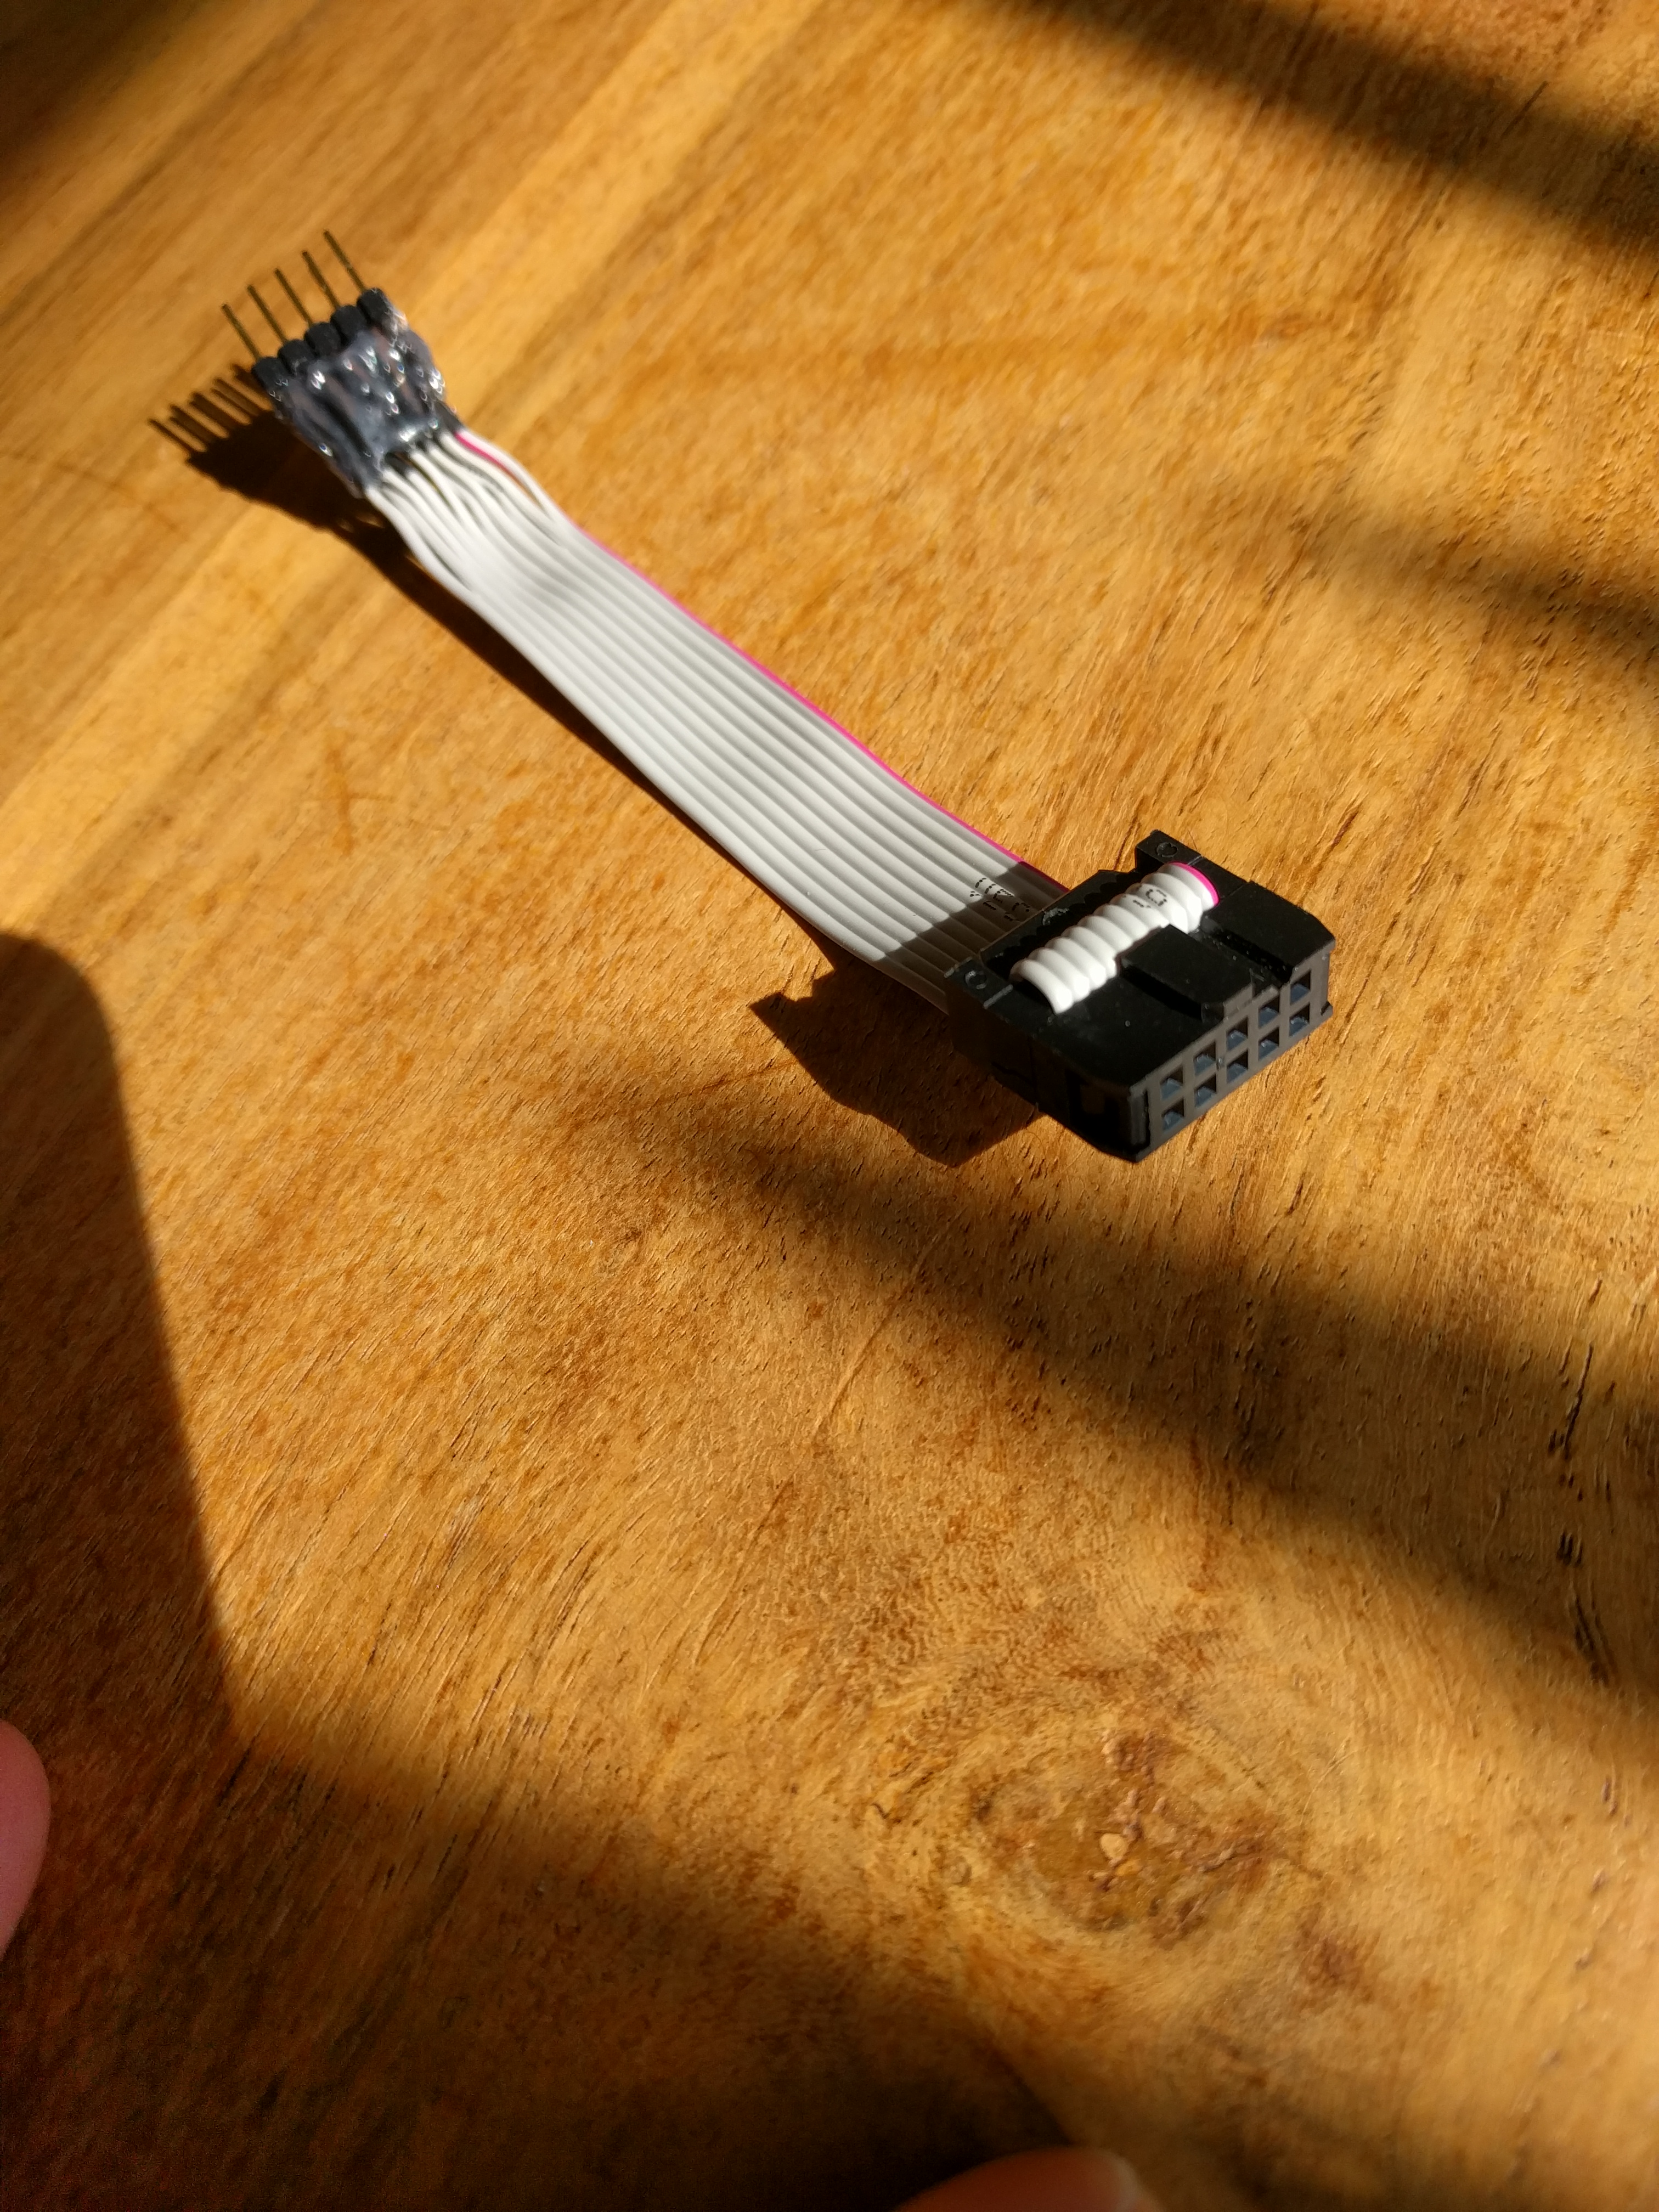 Soldering this is a bit tricky. Let it take time!
It’s just soldered as an 1:1 extension cable. Do not change any PIN position!
Hint: Pay special attention while connecting it later due to the missing anti twist protection.
Prepare SDCard and insert into PI
- Install Raspian and Bitscope software
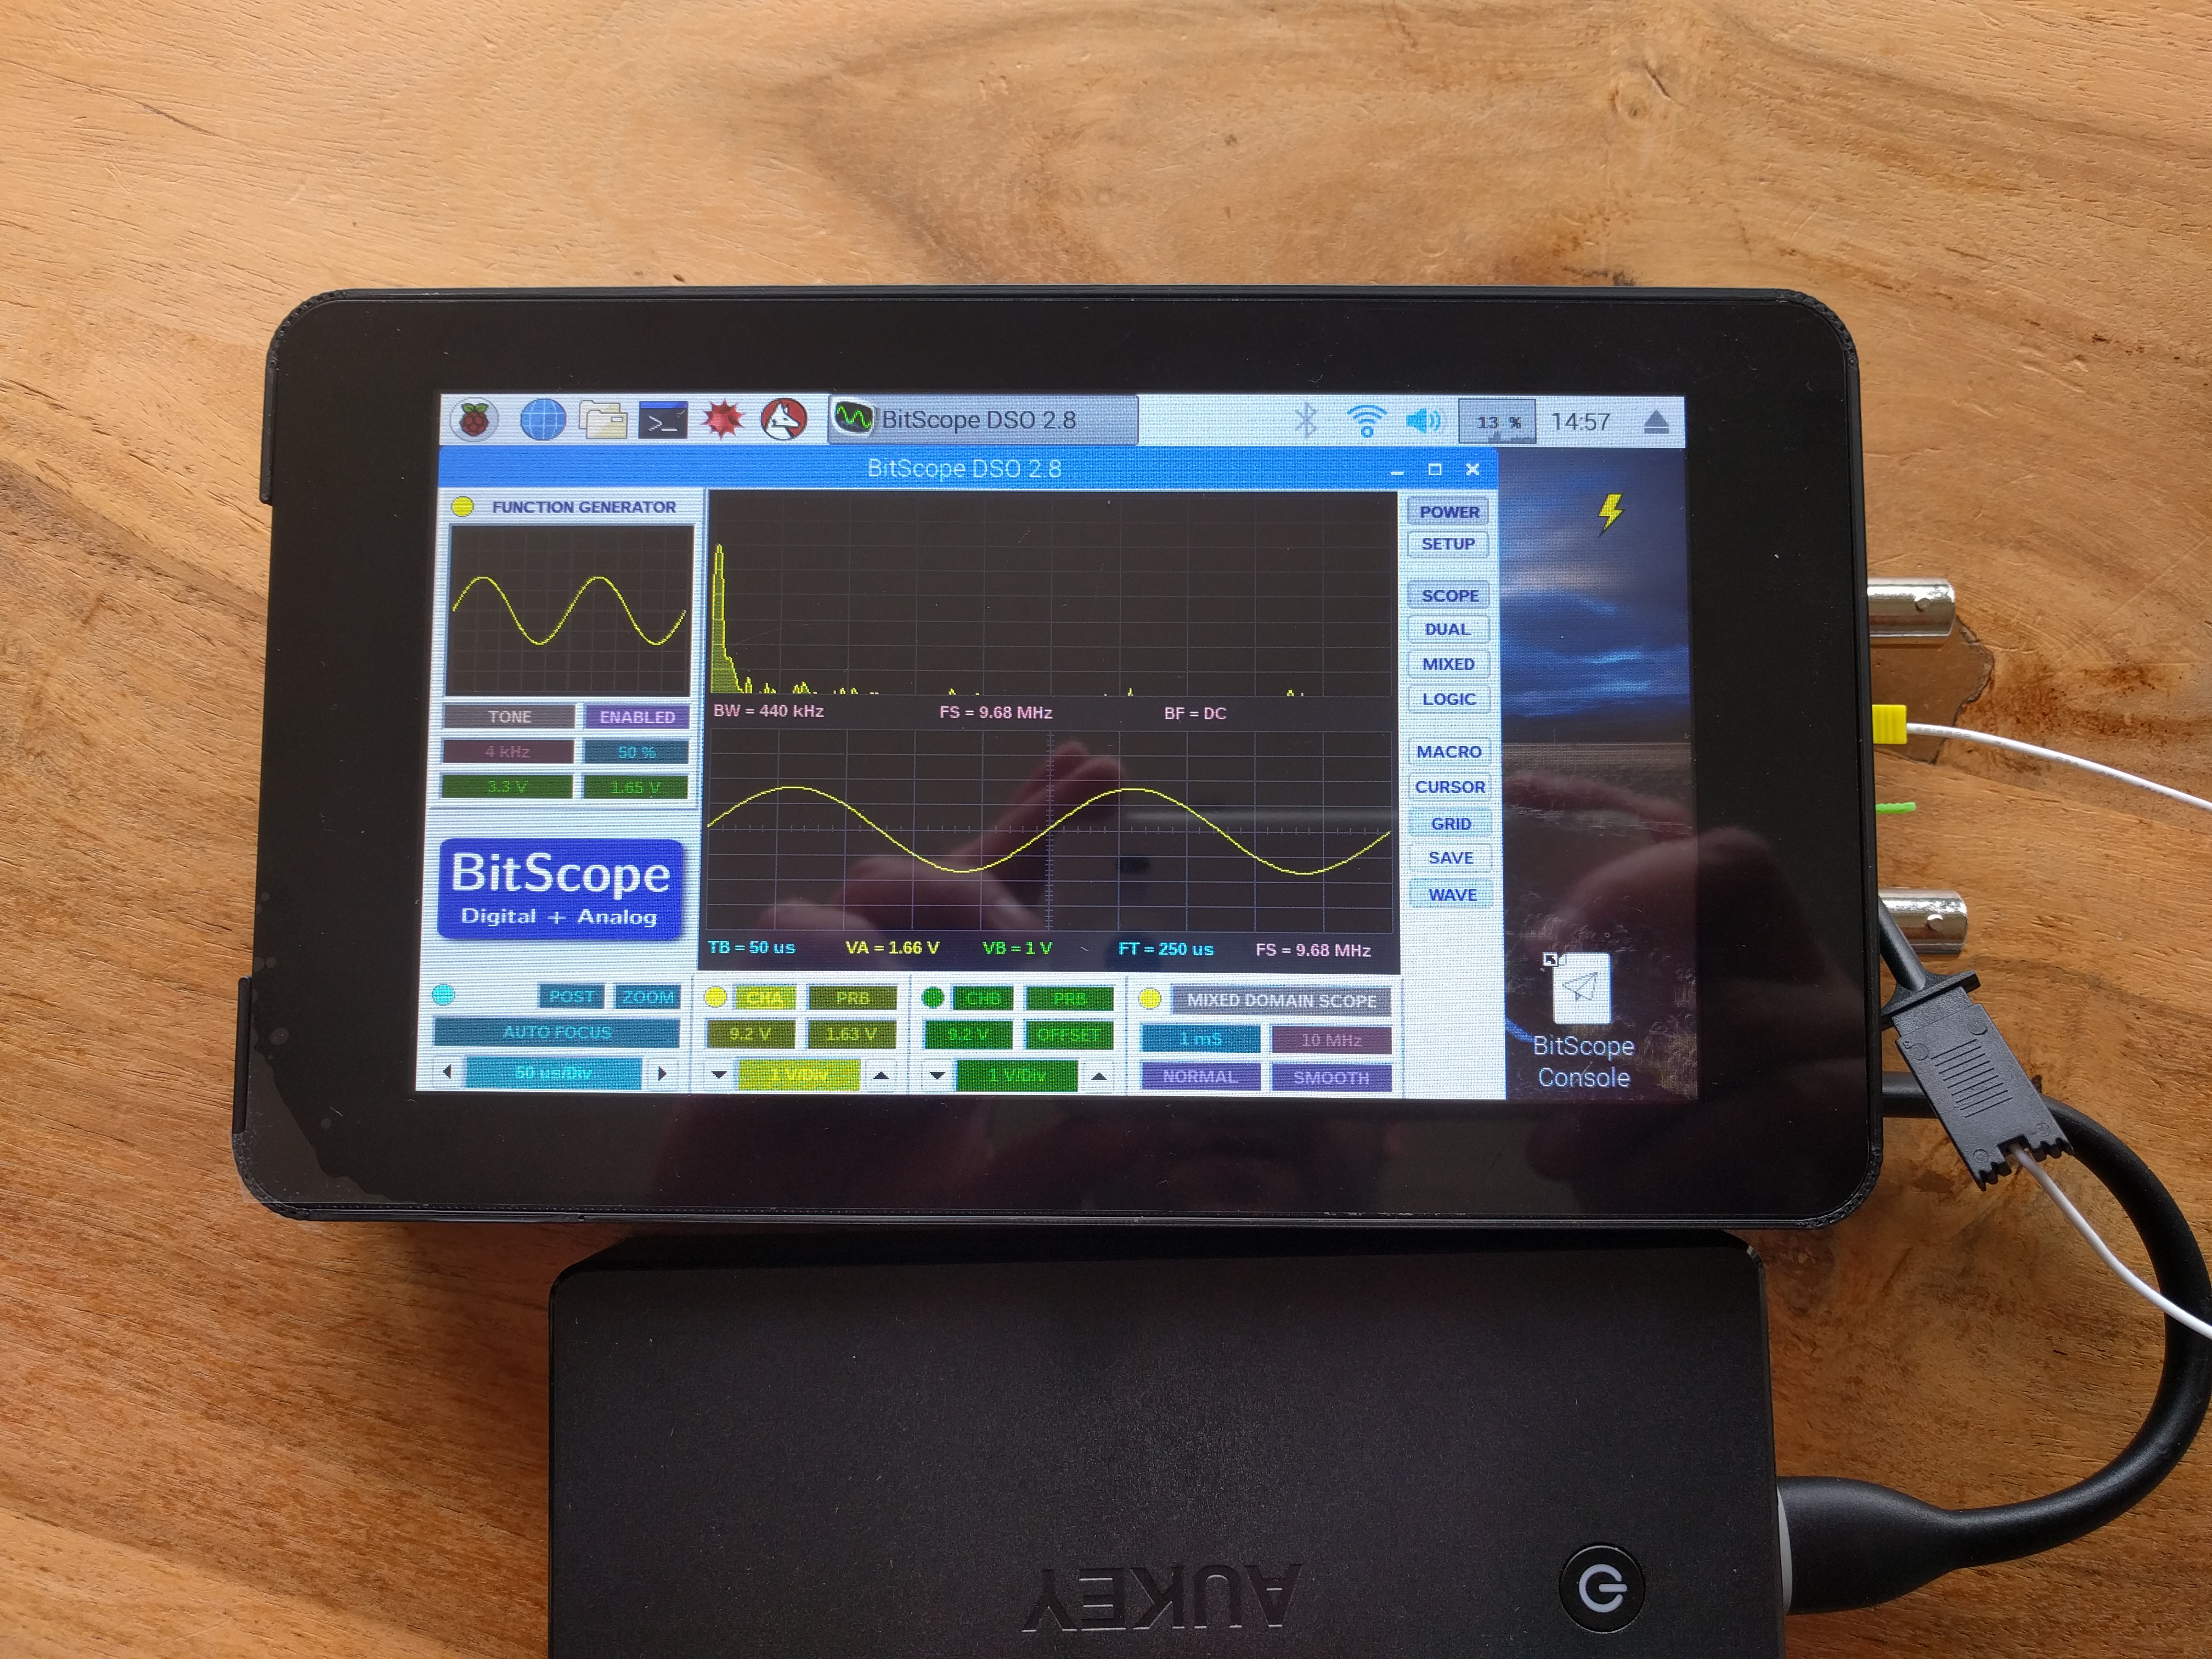
Connect everything and test it now!
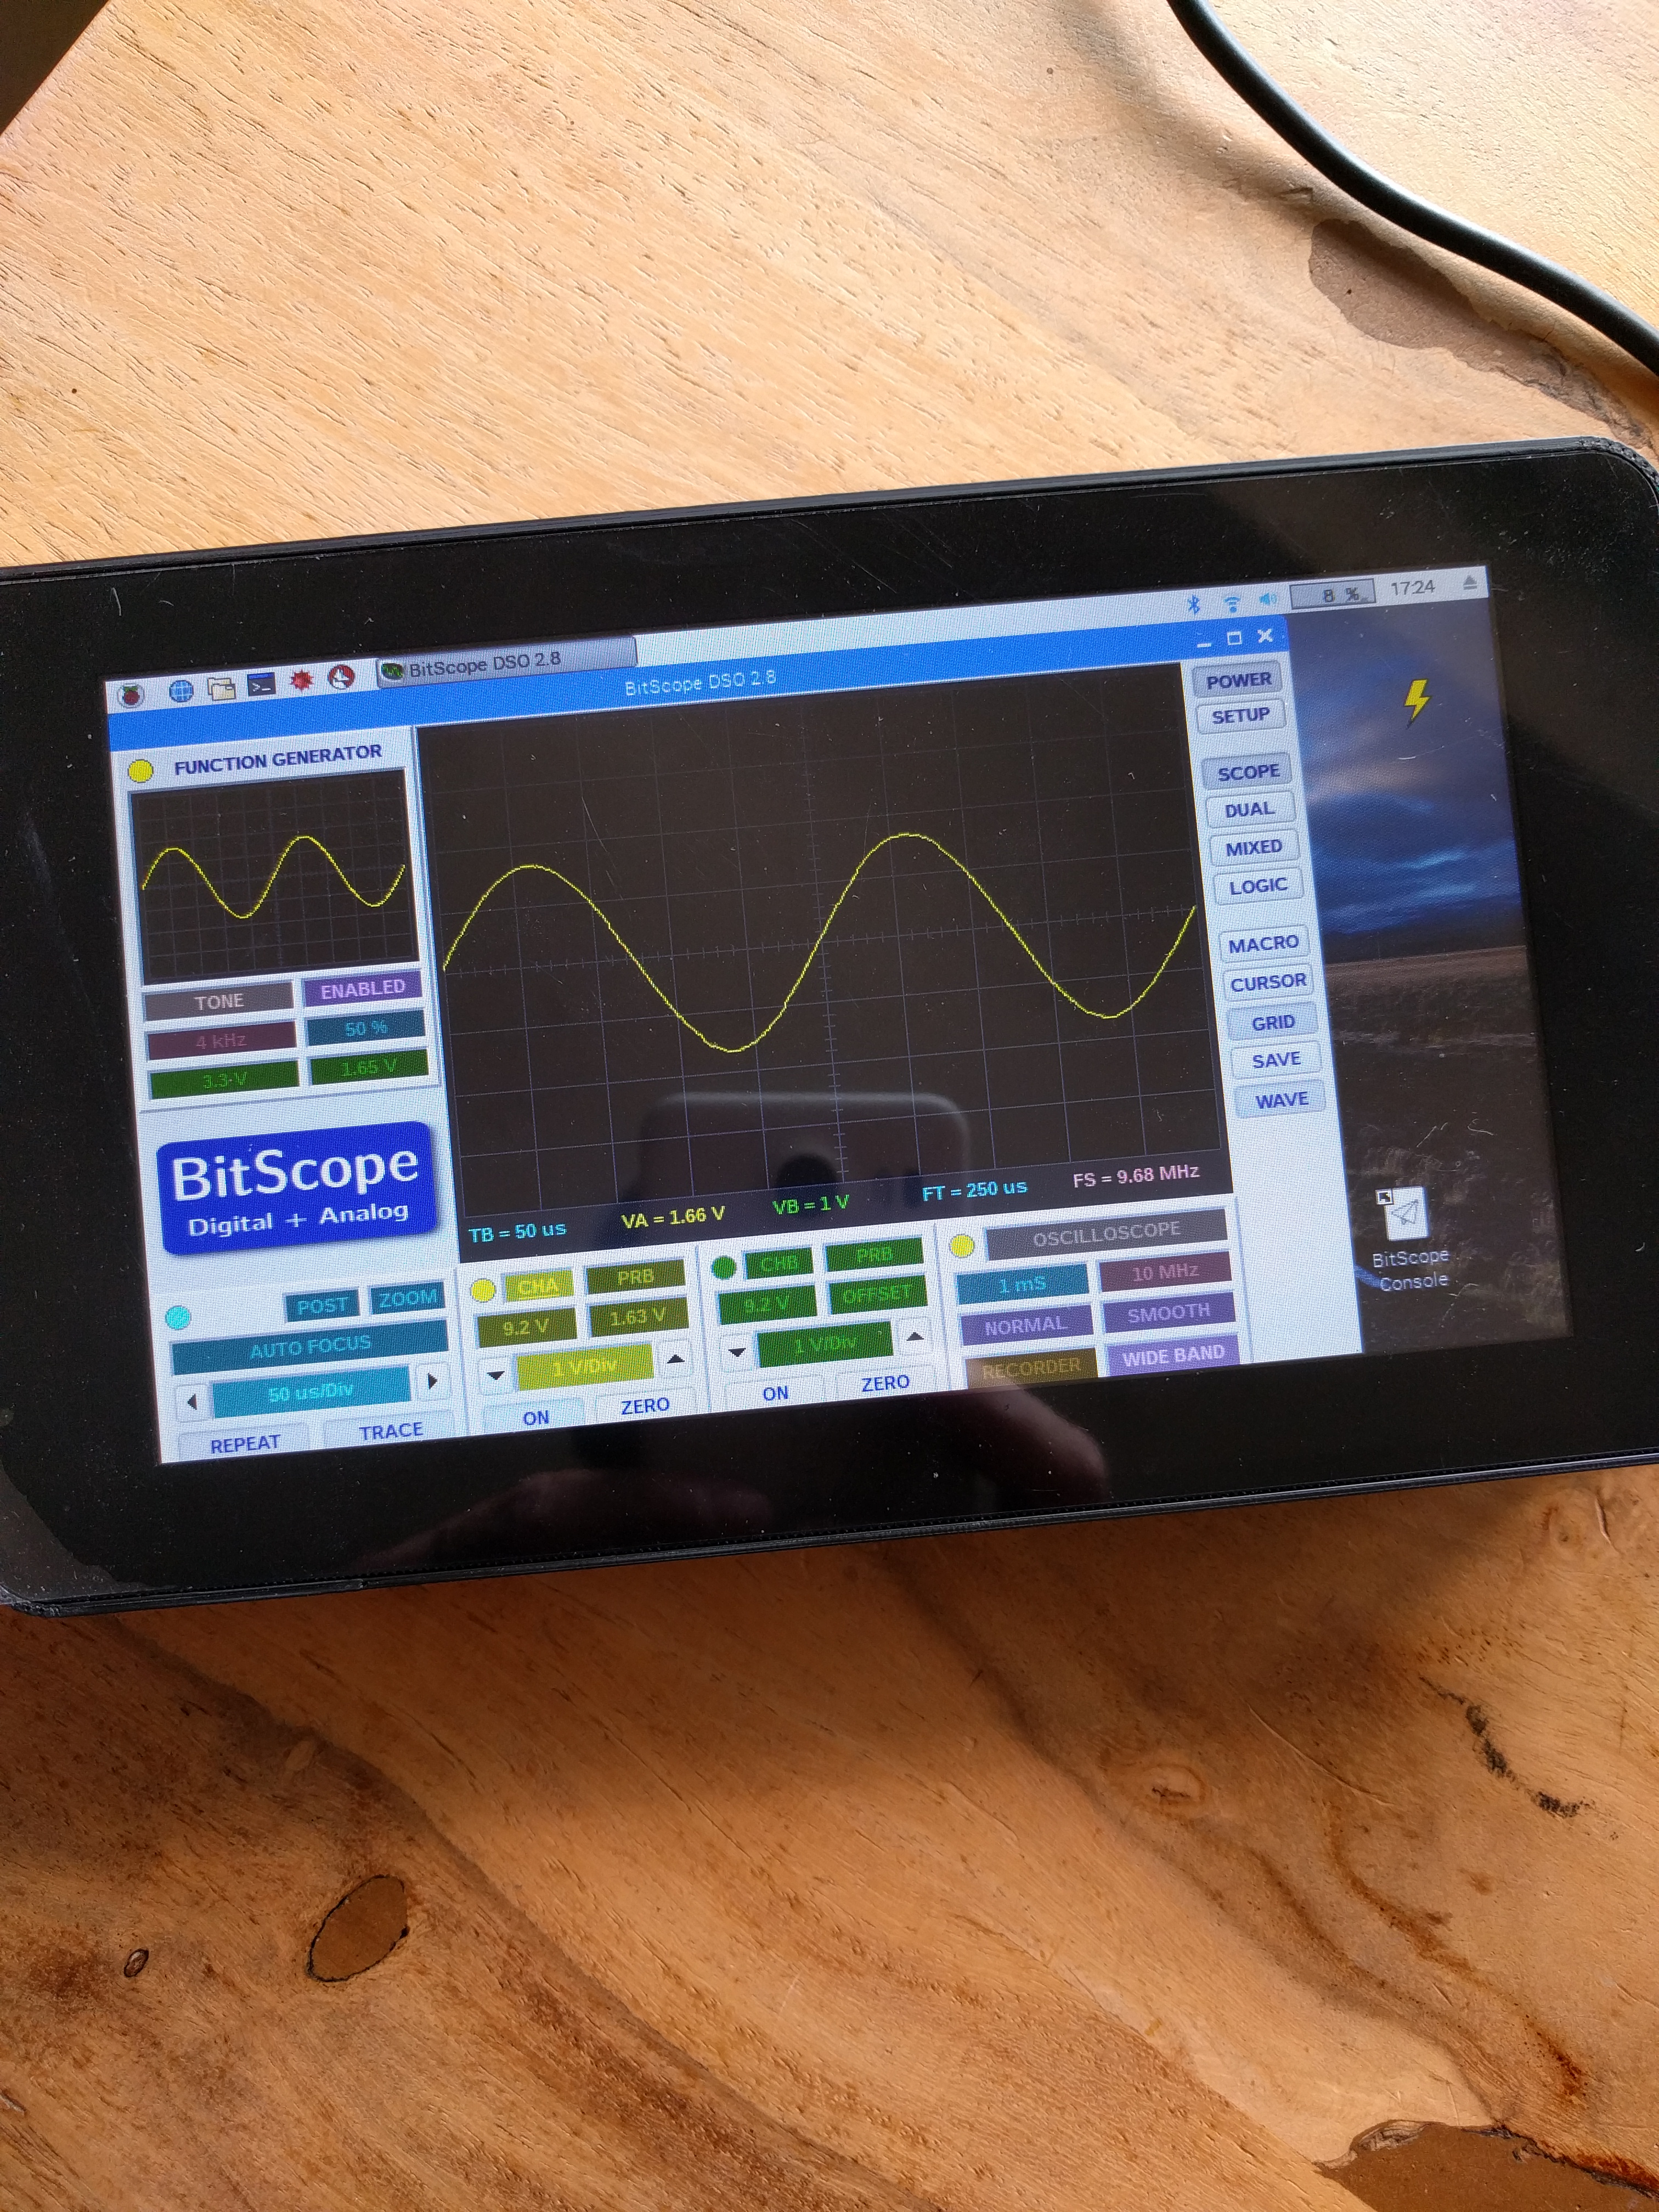
- Connect AWG pin with CHA.
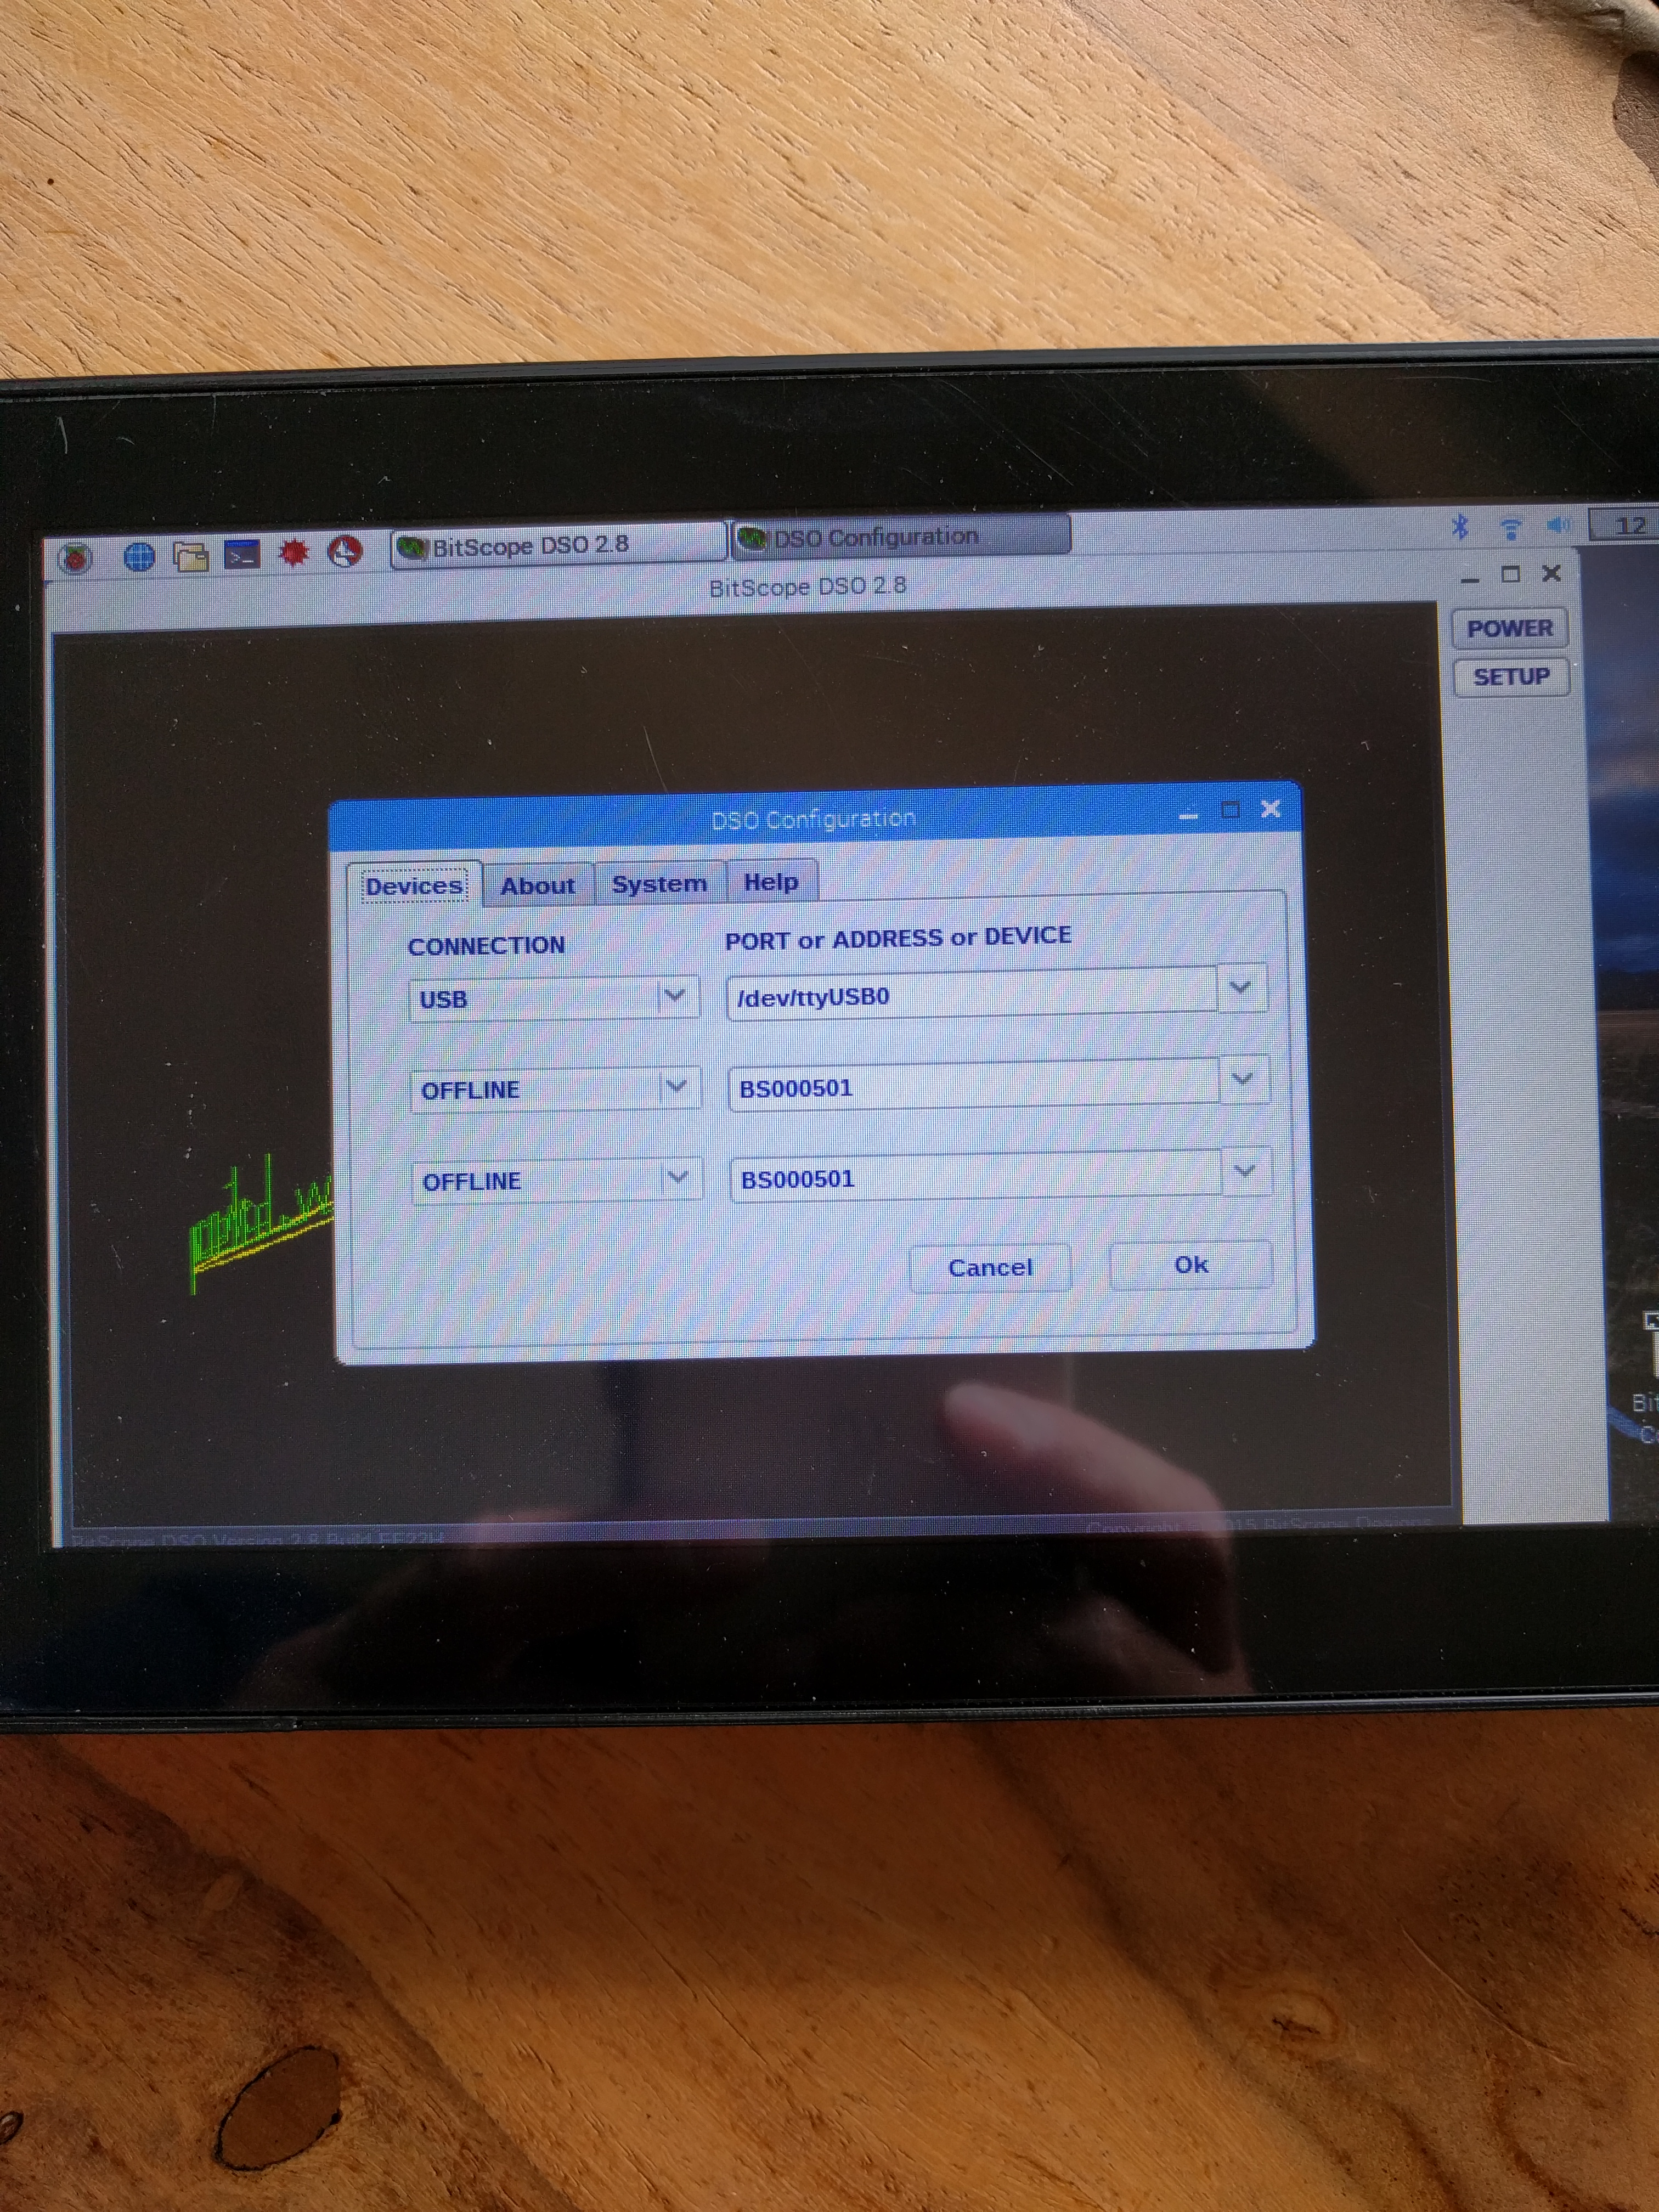
- Start DSO software
- Set it up as USB device.
- To start software click Power
- To activate test modus click Wave.
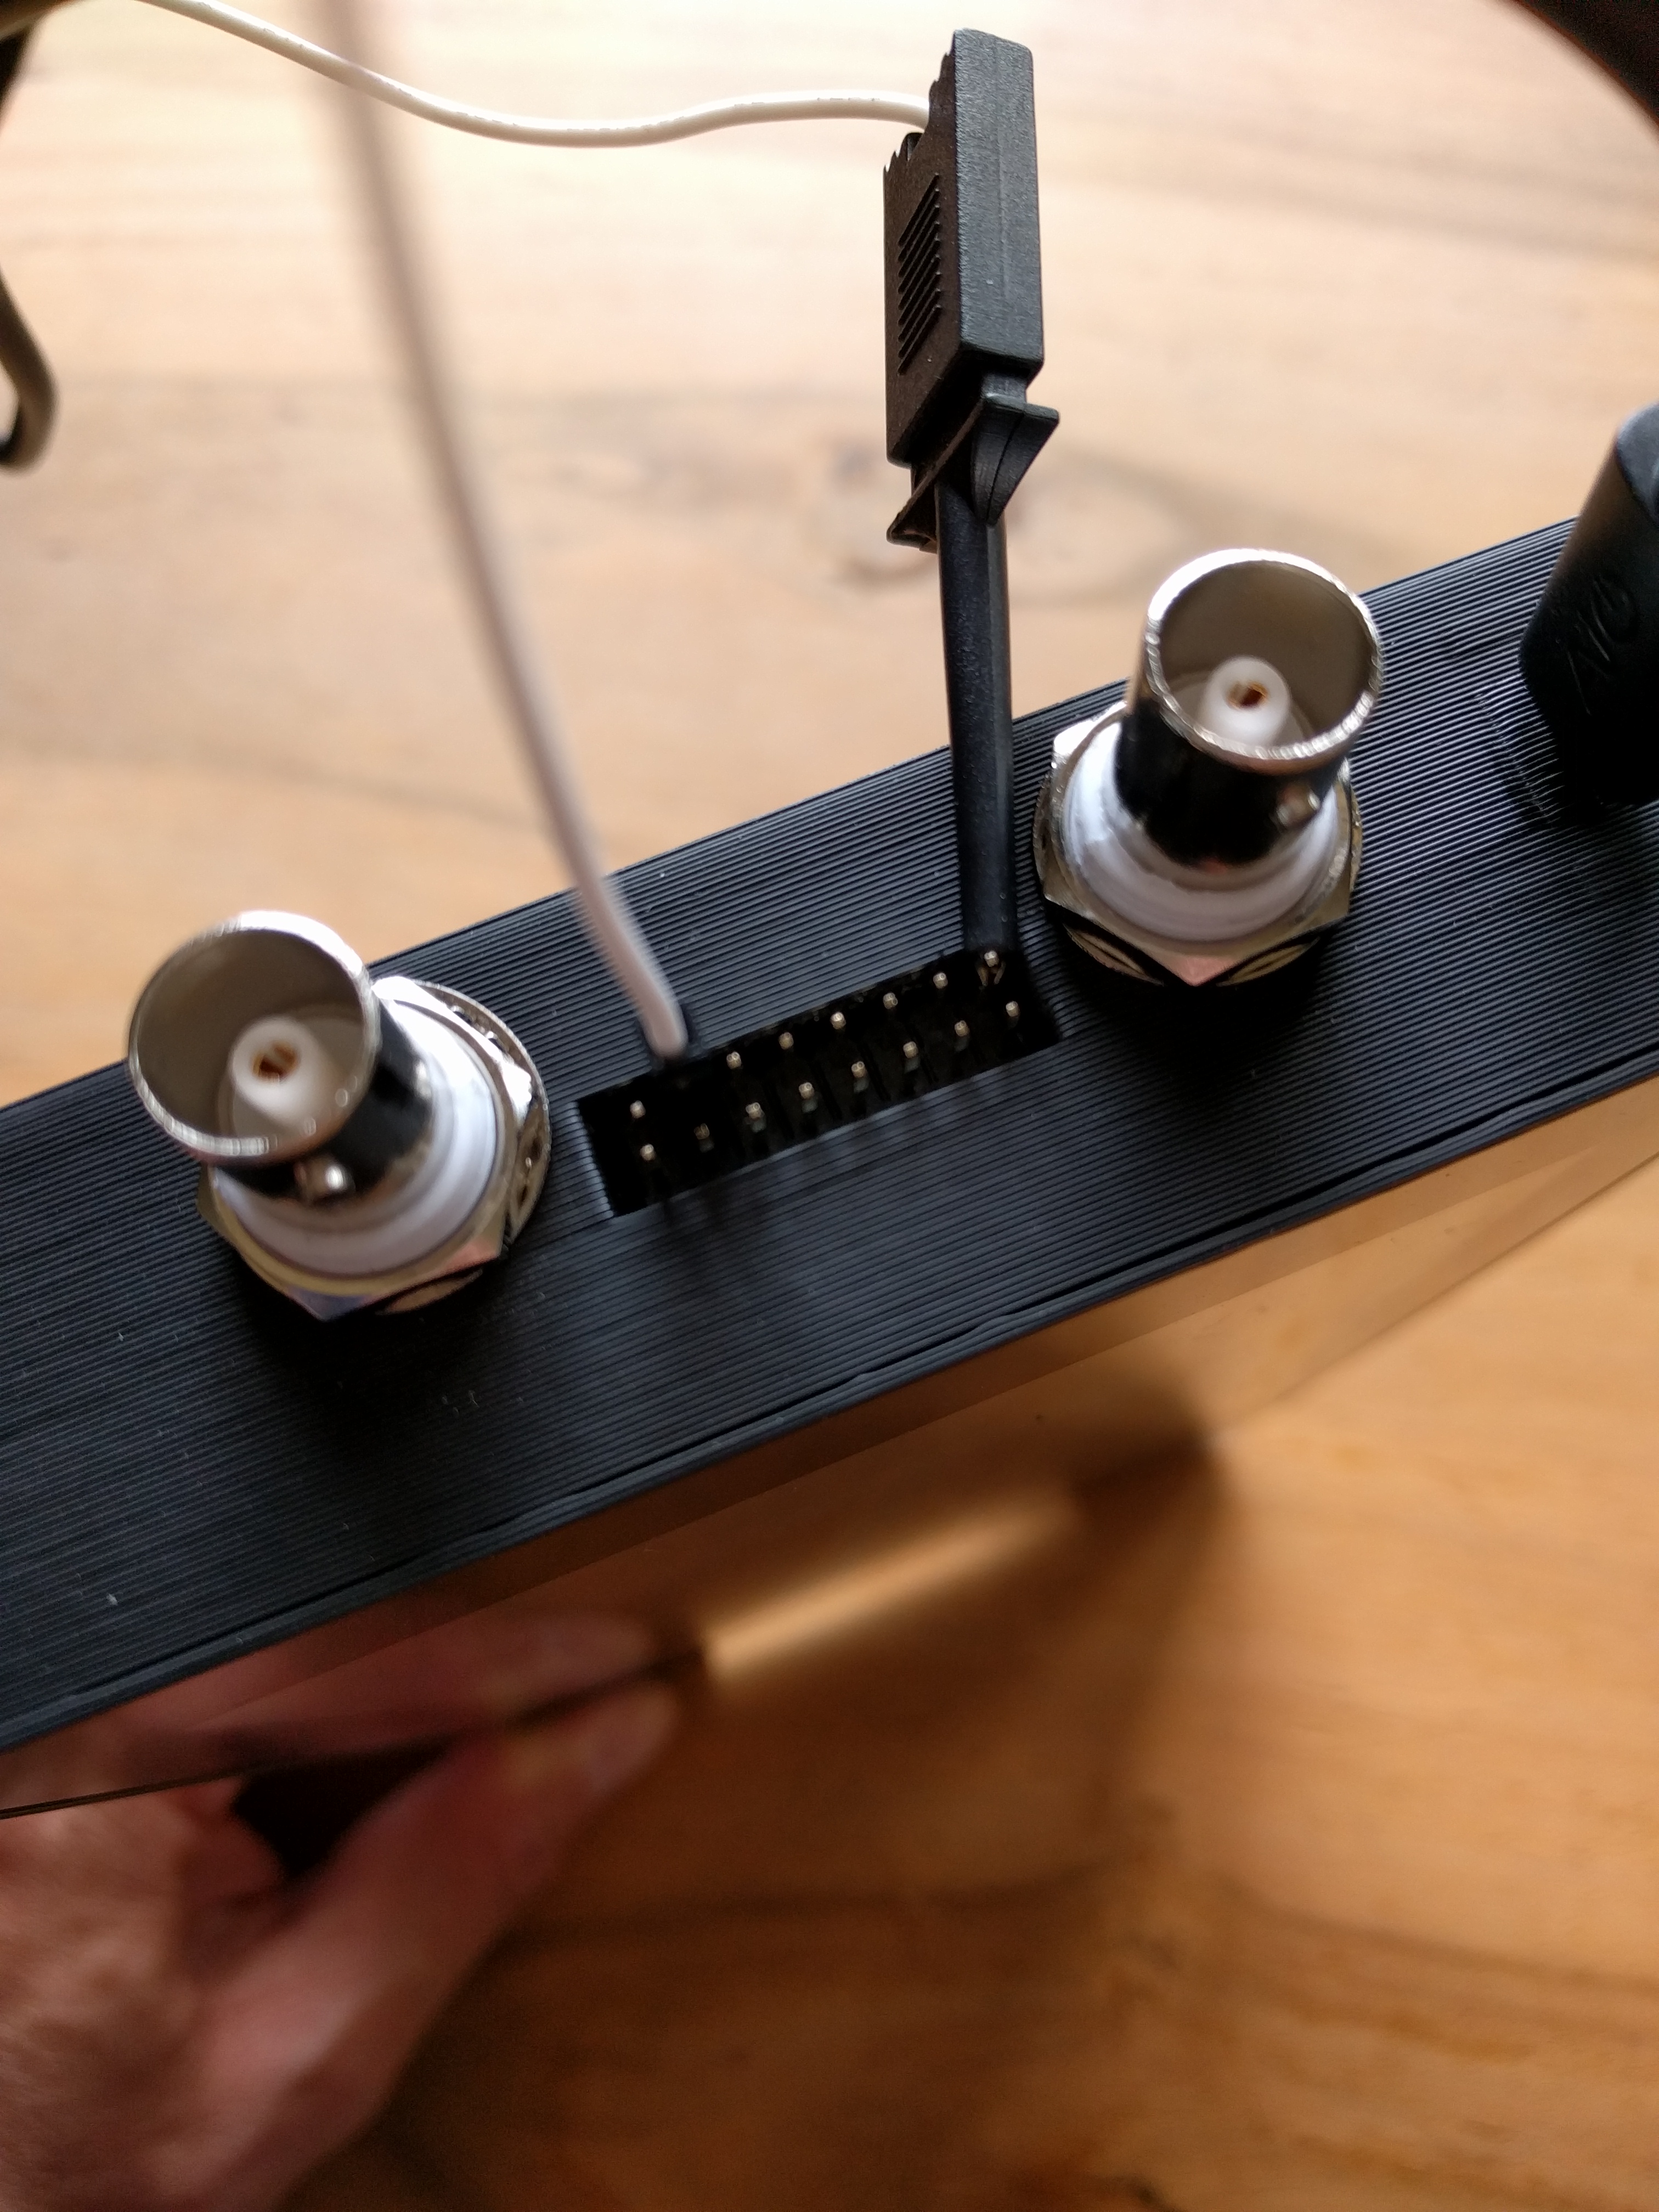
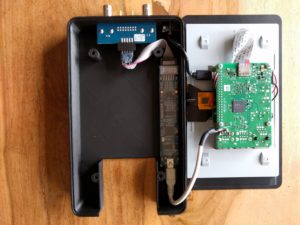
Assembly in pictures


Configuration (Raspian Stretch Desktop)
Install Bitscope DSO software
http://www.bitscope.com/pi/start/
Start all Bitscope software in fullscreen mode
Edit ~/.config/openbox/lxde-pi-rc.xml and add configuration inside “applications” block.
<applications>
…
<application name=”bitscope-*”>
<fullscreen>yes</fullscreen>
<focus>yes</focus>
</application>
…
</applications>
Now reload openbox and test it:
openbox –reconfigure
FYI: To leave fullscreen mode you can use “Alt+F11”.
Autostart Bitscope DSO
mkdir ~/.config/autostart
cd ~/.config/autostart
cp /usr/share/applications/bitscope-dso.desktop .